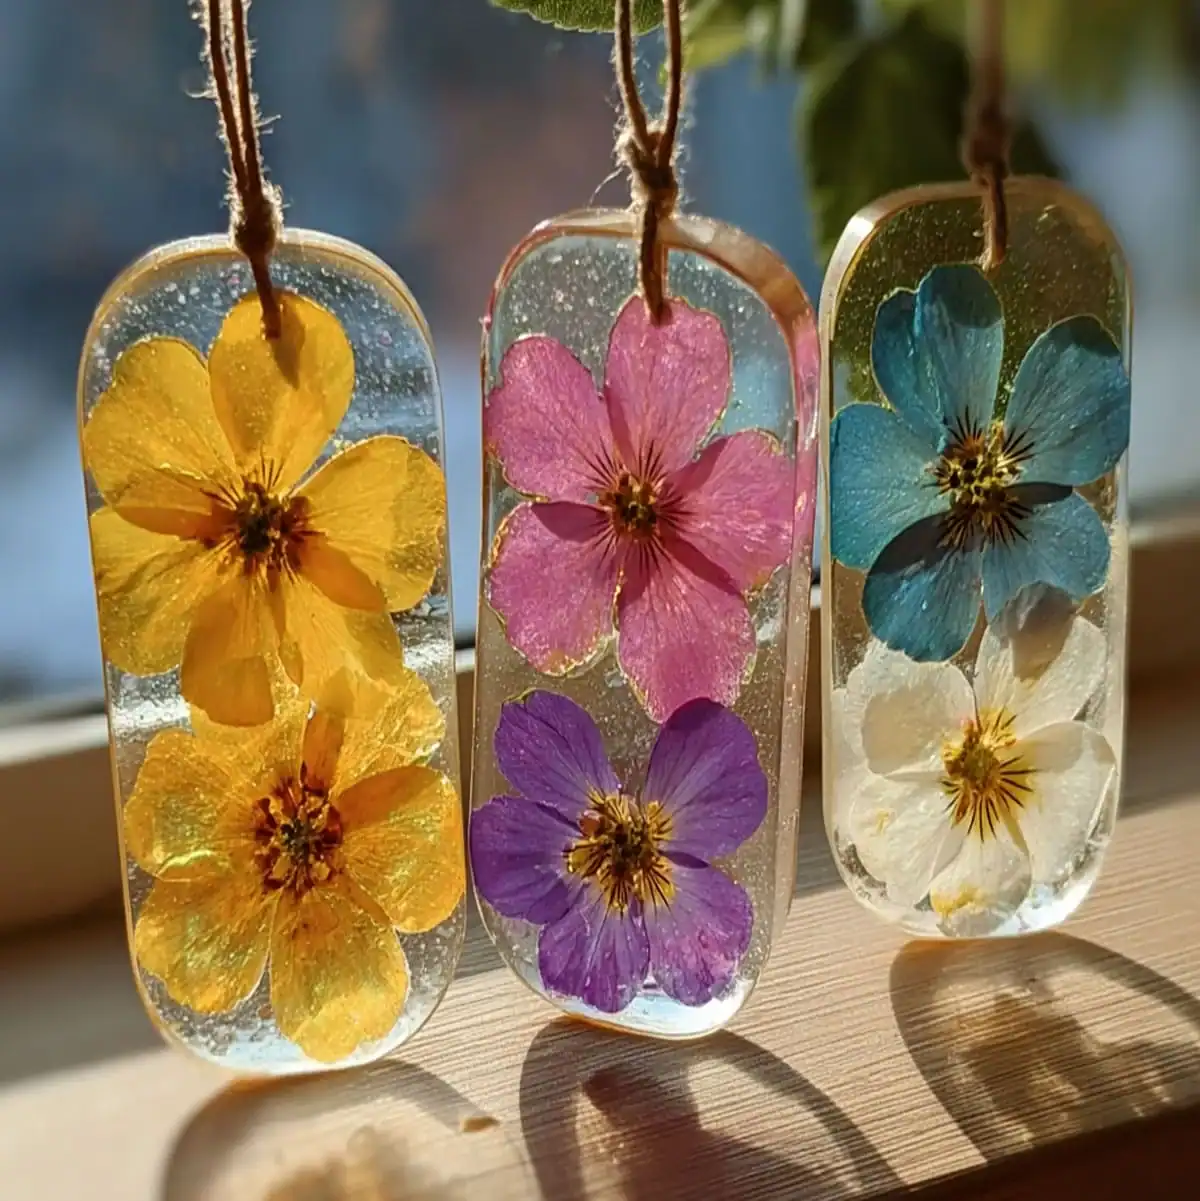
Preserve the beauty of real flowers forever with this beginner-friendly resin jewelry project!
There’s something magical about capturing the delicate beauty of flowers and wearing them close to your heart. Whether it’s a bloom from your garden, petals from a wedding bouquet, or wildflowers collected on a special day, a DIY resin pressed flower pendant lets you preserve those memories forever.
Resin jewelry is a craft that looks professional but is surprisingly easy to do at home. In this guide, I’ll walk you step-by-step through making your own pressed flower pendant — from selecting blooms to creating a flawless, crystal-clear finish. By the end, you’ll have a beautiful keepsake that makes the perfect gift, personal treasure, or best-selling Etsy item.
Why Make a DIY Resin Pressed Flower Pendant?
There are plenty of reasons to fall in love with this project:
- Preserve sentimental flowers – Wedding bouquet roses, anniversary blooms, or flowers from a memorable trip.
- Create one-of-a-kind gifts – Handcrafted jewelry makes a deeply personal present for birthdays, Mother’s Day, or Valentine’s Day.
- Sell as unique handmade pieces – Nature-inspired jewelry is trending on Etsy, especially boho-style pendants.
- Relaxing and rewarding – Crafting with resin is both creative and meditative.
Materials You’ll Need
Here’s everything required for your pendant project:
- Epoxy resin and hardener (two-part kit)
- Silicone pendant molds (any shape you like: teardrop, oval, rectangle, heart)
- Pressed/dried flowers (completely moisture-free)
- Tweezers (for delicate placement)
- Mixing cups and stir sticks
- Protective gloves and mask
- Wax paper or silicone mat (to protect your work surface)
- Toothpick or heat gun (for removing bubbles)
- Jump rings, chains, or cords (for finishing)
💡 Tip: If you’re making these for sale, invest in high-quality resin that’s UV-resistant to prevent yellowing over time.
Step-by-Step Tutorial
Step 1 – Prepare Your Workspace
Resin crafting can be messy, so set up your area before you start. Cover your table with wax paper or a silicone mat, put on gloves, and ensure you have good ventilation.
Step 2 – Mix Your Resin
Follow your resin kit’s instructions exactly — most use a 1:1 ratio of resin to hardener. Pour each part into a disposable cup, then combine them into one cup and stir slowly for 2–3 minutes. Avoid stirring too fast to prevent air bubbles.
Step 3 – Pour the Base Layer
Pour a thin layer of resin into your mold, just enough to cover the bottom. Let it sit for 5–10 minutes, then use a toothpick or heat gun to pop any bubbles that rise to the surface.
Step 4 – Arrange Your Flowers
Using tweezers, gently place your pressed flowers face down into the resin. Press lightly so they adhere to the base layer, making sure no air pockets form underneath. Arrange them exactly how you want — once the top layer is poured, you can’t move them.
Step 5 – Add the Top Layer
Pour more resin over the flowers until the mold is full. Use a toothpick to guide resin into corners and pop any bubbles. Check from different angles to ensure no flowers are sticking out.
Step 6 – Curing & Demolding
Cover the molds to keep dust out and let them cure according to your resin’s instructions (usually 24–48 hours). Once fully hardened, gently remove the pendants from the molds.
Step 7 – Add Findings & Finish
Drill a small hole or use a mold with a built-in loop space. Attach jump rings and your chosen chain or cord. Your pendant is now ready to wear or gift!
Creative Ideas & Variations
Once you’ve mastered the basics, try these creative twists:
- Add gold flakes or glitter for sparkle.
- Use colored resin backgrounds for contrast.
- Layer multiple flowers or tiny charms for a dimensional look.
- Make matching earrings or a bracelet charm.
Common Mistakes & How to Avoid Them
- Cloudy resin – Always use fully dried flowers; moisture causes haziness.
- Shifting flowers – Allow the base layer to get slightly tacky before placing flowers.
- Bubbles – Stir slowly, and always pop surface bubbles before curing.
FAQs
1. Can I use fresh flowers instead of pressed flowers?
No. Fresh flowers contain moisture, which reacts badly with resin. Always use pressed and fully dried flowers.
2. How do I prevent yellowing?
Use UV-resistant resin and store your jewelry away from direct sunlight.
3. What’s the best way to press flowers?
Place flowers between parchment paper and press them inside a heavy book for 1–2 weeks, or use a microwave flower press.
4. Can I reuse silicone molds?
Yes, with proper cleaning they can be used many times.
5. How do I clean resin spills?
Wipe uncured resin with isopropyl alcohol. Once cured, it must be sanded or scraped off.
Final Thoughts
Making your own DIY resin pressed flower pendant is a satisfying and beautiful way to preserve nature’s beauty. It’s beginner-friendly, doesn’t require expensive tools, and each piece is truly one-of-a-kind.
Whether you keep your pendant as a personal keepsake, give it as a gift, or list it in your Etsy shop, it’s a craft that brings joy to both maker and wearer.